With Halloween and Bonfire Night already behind us, winter will be here before we know it – but is your garden ready? As the days get colder and darker, it’s all too easy to neglect your outdoor space in favour of the cosy indoors, but a little time and effort now is essential for seeing your timber surfaces safely through the harsher weather.
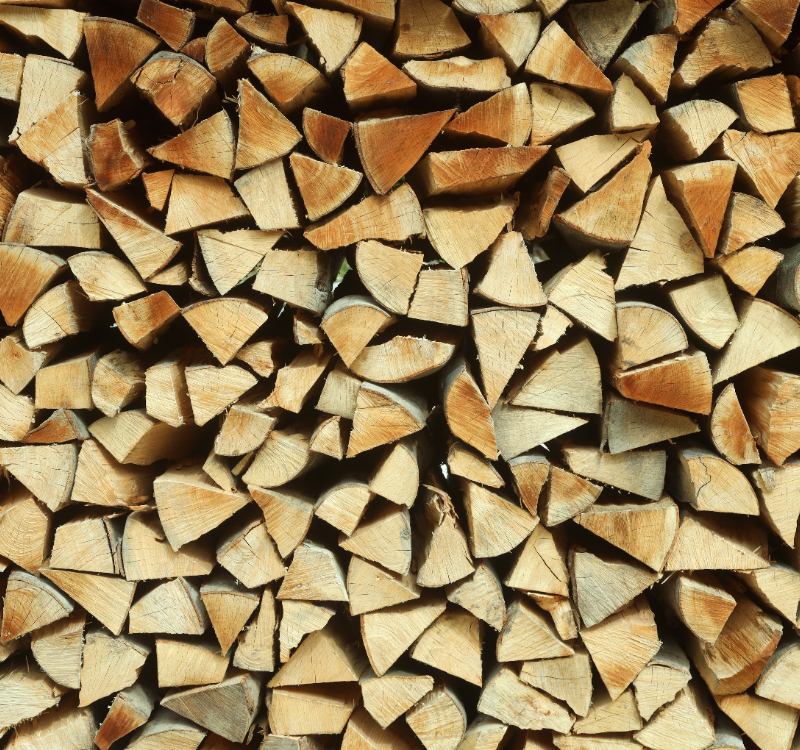
As one of Wigan’s most experienced timber merchants, here at Sherman & Young Timber, we know just how important it is to make sure all your exterior wood is protected before winter. We’ve been helping our customers to transform their gardens for over 50 years now, and although we pressure treat our timber products for added durability, we still recommend applying a sealant every one to two years to protect them from moisture and rot.
Looking to seal your timber surfaces before the winter weather hits? Let’s break down the process!
Step 1 – Check if your timber surfaces are ready to be sealed
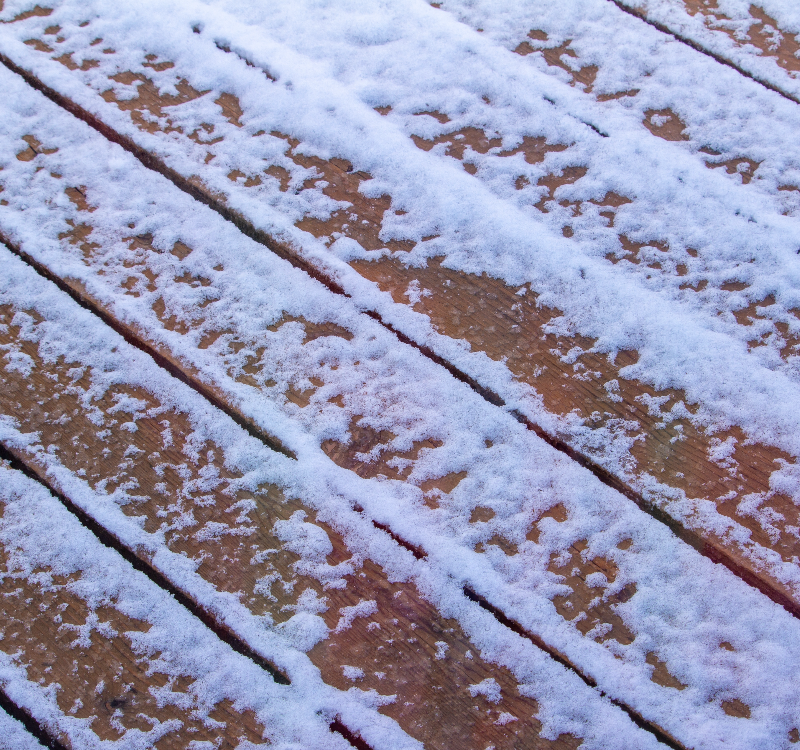
It’s actually really easy to see if your timber surfaces are ready for a layer of protection – just use the water bead test! Sprinkle water on the wood and watch carefully to see what happens. If the water forms beads that sit on the surface, the existing layer of protection is still doing its job. On the other hand, if the wood absorbs the water, that’s a good sign that it’s time to add a new coat of sealant.
But let’s not be too hasty! If your pressure-treated timber fences or decking are new, you’ll need to let them completely dry out before adding sealant. This can take anywhere between a few weeks to several months. Again, you can use the water bead test to check if your timber is dry enough to apply sealant.
Step 2 – Check the weather forecast
Next, check the weather forecast. Dry periods may be few and far between in winter, but it’s definitely worth being a little patient. On particularly cold and damp winter days, your sealant may not properly adhere or may end up uneven or peeling, ruining both the protection and the quality of the finish. Check how long your sealant will take to dry and identify a period of suitable weather to ensure a proper, effective job. If it rains before you start, you’ll need to wait a day or two to make sure the timber is completely dry.
Step 3 – Clear your area and start cleaning
If you’re sealing a deck, you’ll first need to remove all furniture, rugs and accessories so that you can do a thorough job without obstacles. Start by wiping down the timber with a cloth to remove any loose debris. Next, take a soft-bristled brush, a mild detergent like washing-up liquid and warm water, and give your timber a thorough clean. Then, rinse it down and let it fully dry before moving on to the next step.
Step 4 – Sand down your timber
Next, sanding. This is great for ensuring an even, smooth finish, and also helps the timber to absorb the sealant. Sanding is especially important for older, previously painted timber, which may be peeling or flaking. You can use a power sander to speed up the process, sanding by hand to complete awkward corners and edges. Start with a coarse-grit sandpaper to tackle loose splinters and rough spots, then swap to a finer-grit sandpaper to finish the job – and remember to always sand along the wood grain! Afterwards, use a brush, cloth or leaf blower to remove any dust.
Step 5 – Apply preservatives and a sealant
For added protection against rot, insects and mould, it’s worth taking the time to add a coat of wood preservative here before sealing – however, if your timber is pressure-treated, you can skip this step! To apply sealant, you can use a roller, a brush or even a paint sprayer, ensuring thorough, even coverage. It’s a good idea to apply several thin coats rather than one thick coat, so that it can properly dry and cure without bubbles or blistering. Pay close attention to cut ends, as these areas are particularly vulnerable to moisture – we actually sell an end grain treatment specifically formulated for this purpose. Some people choose to give the timber a light sanding between coats of sealant, but this is entirely up to you!
Remember – how quickly the sealant dries depends on the kind of wood and sealant you’ve chosen to use. Always check the sealant’s instructions to see how long each layer will take to dry. After this, you can apply paint or a stain of your choice for extra protection and a pop of colour, and enjoy peace of mind, no matter what winter brings!
That’s the process covered! If you’re ready to protect your timber surfaces against the winter weather, why not check out our range of paints and treatments? Of course, if your timber is beyond help, it might be time for a replacement. From decking and sleepers to fence panels, we’ve got you covered. Whether you’re a tradesperson or a DIY enthusiast, our friendly team of experts is here to help. If you’re looking for timber merchants in Wigan you can really rely on, you’re in the right place – just give us a call on 01942 727 314 today!